Python for Web Development – How to Upload file in Flask?
Flask provides an easy solution and code for file uploading, we here learn how to upload file in Flask from a local machine to a server by using flask from an HTML file. In this tutorial, you will learn how to uploading a file and connecting the MySQL database using Flask.
We fetch file by object request.files[].filename and successfully store in the desire location, here is a step by step guide for file uploading using flask:-
Now create a reg_form.py for executing server side:-
from flask import Flask, render_template, request, redirect, url_for
from werkzeug.utils import secure_filename
import os

app = Flask(__name__)

@app.route('/')
def home():
    return "Welcome Home! <a href='/reg'>Registration form</a>"

@app.route('/reg')
def reg():
    return render_template("reg_form.html")

@app.route('/submit', methods = ['POST'])
def submit():
    input = request.form
    f = request.files['photo']
    f.save(os.path.join('static/image', secure_filename(f.filename)))
    photo_n = f.filename
    return render_template("reg_form_view.html", data = input, photo = photo_n)

if __name__ == "__main__":
    app.run(debug = True)
Create html form for uploading file named as reg_form.html
<html>
<head>
<title>File Uploading Form</title>
<style>
td{
padding: 10px;
}
</style>
</head>
<body>
<div style="width:400px; margin:25px auto;">
<h1>Registration Form</h1>
<form action="/submit" method="post" enctype="multipart/form-data">
<table>
<tr>
<td>Name</td>
<td><input type="text" name="name" value=""/></td>
</tr>
<tr>
<td>Mobile</td>
<td><input type="text" name="mobile" value=""/></td>
</tr>
<tr>
<td>Email</td>
<td><input type="text" name="email" value=""/></td>
</tr>
<tr>
<td>Photo</td>
<td><input type="file" name="photo" value=""/></td>
</tr>
<tr>
<td colspan="2" style="text-align: center;"><input type='submit' value="submit"/></td>
</tr>
</table>
</form>
</div>
</body>
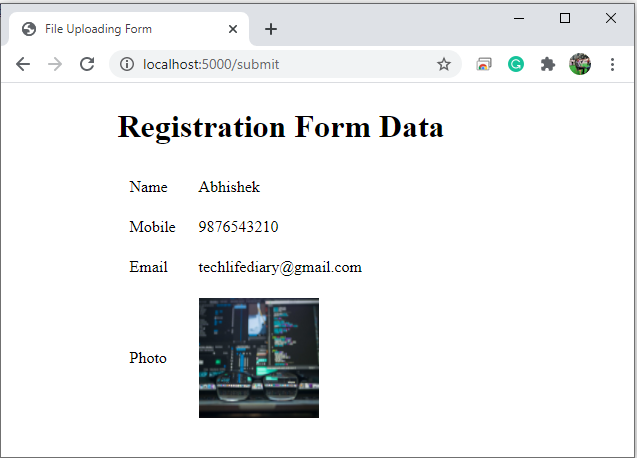
</html>Registration for data view html page named as reg_form_view.html
<html>
    <head>
        <title>File Uploading Form</title>
        <style>
            td{
                padding: 10px;
            }
        </style>
    </head>
    <body>
        <div style="width:400px; margin:25px auto;">
            <h1>Registration Form Data</h1>
            <table>
                <tr>
                    <td>Name</td>
                    <td>{{data.name}}</td>
                </tr>
                <tr>
                    <td>Mobile</td>
                    <td>{{data.mobile}}</td>
                </tr>
                <tr>
                    <td>Email</td>
                    <td>{{data.email}}</td>
                </tr>
                <tr>
                    <td>Photo</td>
                    <td><img src="/static/image/{{photo}}" alt="img"/></td>
                </tr>
            </table>
            </form>
        </div>
    </body>
</html>
Here is the view that take user detail and upload photo
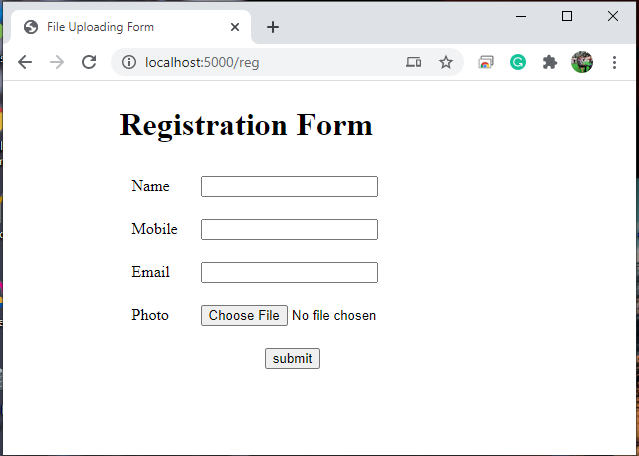
Now once, data is submitted it will show on below design view
Hope this tutorial, will help you in uploading file and connecting mysql database using Flask framework for web development Python.
How to connect Flask application with MySQL?


